


Though the welding portion is the very tiniest part of the work, I wanted to share my most recent metal working project with you, and in appreciation for Wes teaching me how, and setting me up to tig weld.
At 72-years old, I'm only just now learning to be a machinist. Though I've used my ancient Index Super 55 mill to slot a couple holes and fish-mouth a couple tubes, this is my first complex fabrication done mostly on the mill, and entirely of my own design.
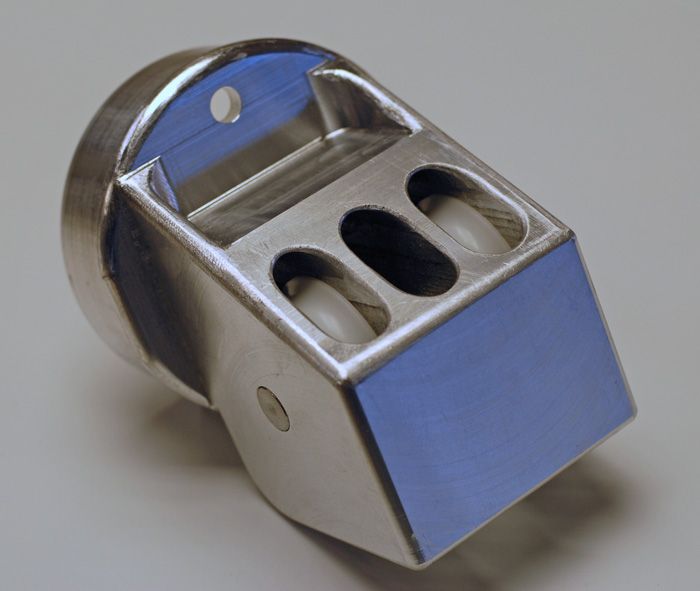
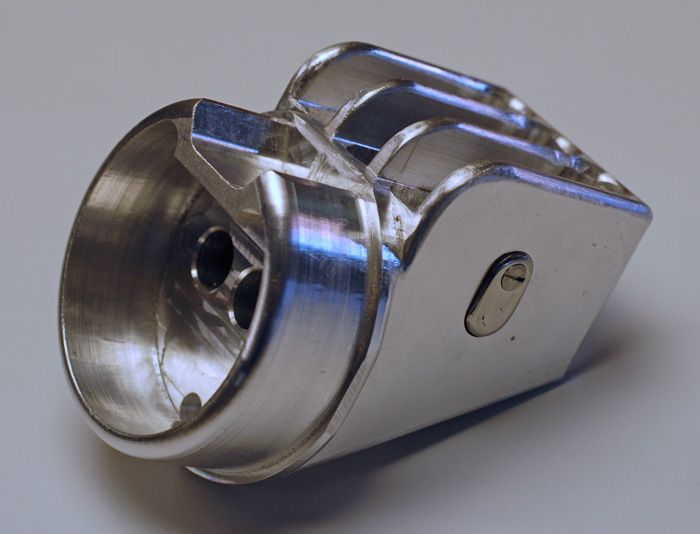
It is an aluminum boom end fitting for a 30' sailboat. Milled from a solid block of aluminum, the body's corners have been rounded over to minimize risk of personal injury and protect against line chafe. For scale, the odd rounded feature fits inside a thin-walled 4" OD boom. The 2" plastic sheaves were purchased (only 2 installed for photo)--everything else I fab'd, myself. Sheaves will handle out-hall plus 2 reef lines, which will be hidden inside boom.
The sheave axle is 1/2" stainless bar whose end I turned down on the lathe {my first ever use of a lathe) for a press fit in the stainless end cap, before tig welding (also just learning) and then shaping/polishing. The cap sits partially in a shallow, milled slot to prevent the shaft from turning. The screw only prevents the shaft from falling out. My weld was just two tacks, really, as I was concerned to not warp the precision shaft.
First I band-sawed a block of aluminum roughly to size, and fly-cut those surfaces. Then drilled 2 sets of (3) 5/8" holes intersecting each other. From the holes I milled the slots. Now switching to the rotary table, all the features that relate to the boom shape were produced.
Back off the rotary table, one of the large, flat sides was end-milled and fly-cut. The other side was fly-cut only (easier). While in this position, the axle hole was drilled and the axle cap slot milled. Now the large, angled cut-away section was band-sawed away and the large radius shaped on the top fins. Re-staging on the fins, the small pocket on the bottom was milled away to lighten. Lastly the tap drill for the retaining screw was drilled through the body and axle cap, and the cap then clearance-hole drilled and countersunk. Drain hole was drilled and the body tapped. Where practical, outside corner radii were machined using a radius end mill. The rest were mostly hand-filed.
The project really pointed out some shortcomings in my tooling/setup and especially in my fledgling technique. But, in spite of the many challenges and mistakes it filled me with satisfaction and pride to see this project unfold and almost surprise me that I had created it.
All comments welcome.

 Reply With Quote