Tried this awhile ago and failed terribly as you could have guessed, but I'm curious if it can even be done with my machine. I've read that some people use 20-30amps.
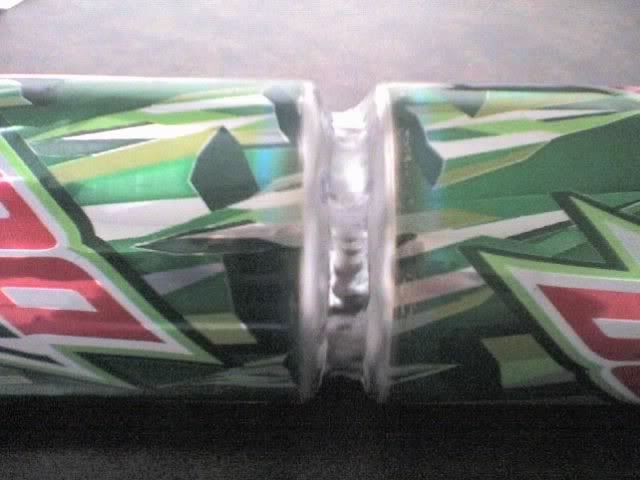
I put two cans (bottoms together) wire brushed them, had a 3/32 electrode (red) and turned my machine on AC and turned the amperage as low as it would go which is 10 amps.
Got on the pedal maybe 1/4 of the way and it would pop a hole in a second. Do you need to pulse feature to get this done?
Also tried the razor blade and the arc would gravitate towards one of the razors and just melt it. Even at that low of an amperage.
")